
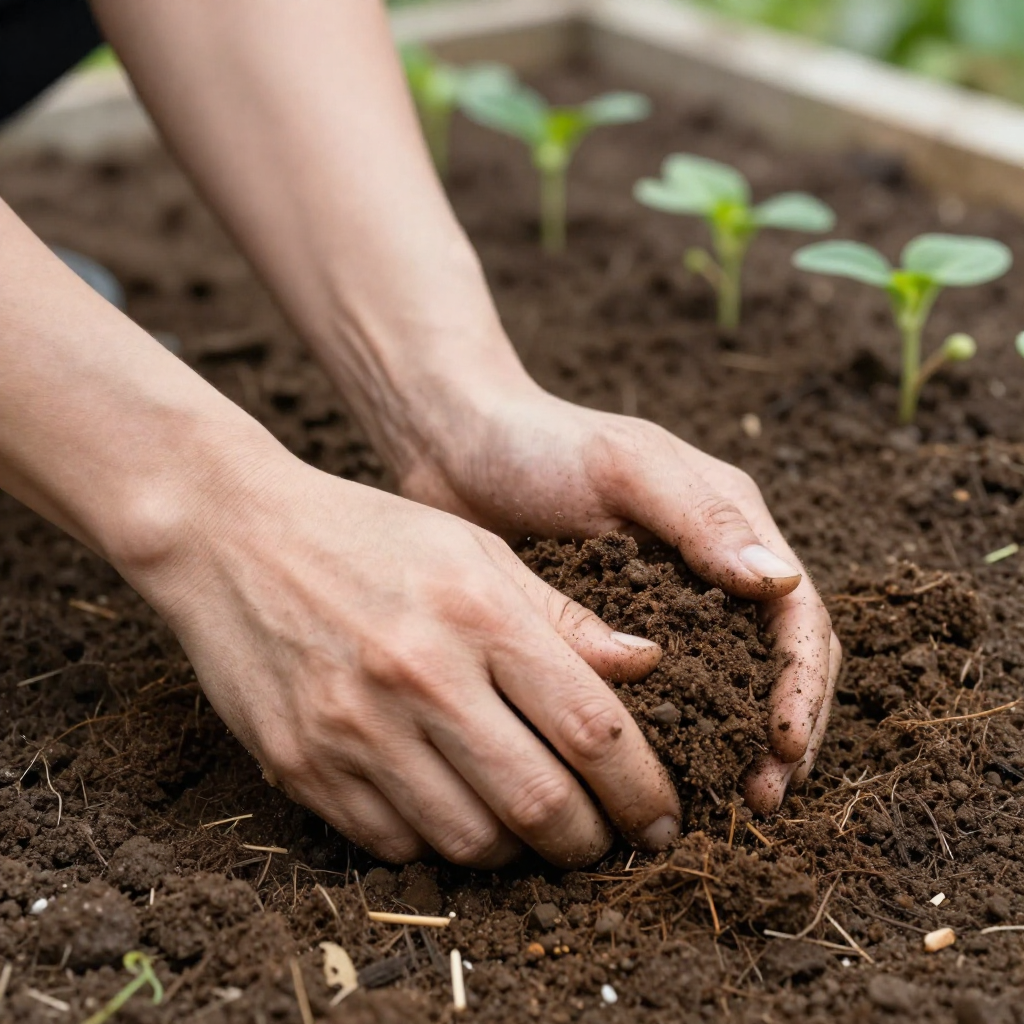
Preparing soil is the foundation of a successful home garden. Even if you choose the best seeds and plants, poor soil can limit growth. Understanding your soil type, improving fertility, and proper preparation ensures healthy plants, higher yields, and less maintenance.
This guide explains how to prepare soil for a home garden in a step-by-step approach for beginners and experienced gardeners alike. Every section provides practical tips, methods, and expert advice to make your garden thrive.
Why Soil Preparation Is Crucial for Home Gardens
Soil is more than dirt. It is the source of nutrients, water, and support for your plants.
-
Healthy soil improves plant growth and increases resistance to pests.
-
Well-prepared soil allows roots to penetrate easily and access nutrients.
-
Preparing soil reduces the need for fertilizers and other chemical inputs.
Skipping soil preparation often results in poor germination, stunted growth, and lower yields.
Understanding Your Soil
Before preparing soil, you must know its type, texture, and nutrient content.
1. Identify Soil Type
Soil types affect drainage, nutrient availability, and plant growth. Common types include:
-
Sandy Soil: Drains quickly but holds few nutrients. Ideal for root crops but needs organic matter.
-
Clay Soil: Holds water well but drains poorly. Benefits from compost and aeration.
-
Loamy Soil: Balanced texture and nutrients, ideal for most plants.
Knowing your soil type helps determine amendments needed for healthy growth.
2. Test Soil pH
pH measures soil acidity or alkalinity, affecting nutrient uptake.
-
Ideal garden soil: pH 6.0–7.0 for most vegetables and flowers.
-
Acidic Soil: pH < 6 can be corrected with lime.
-
Alkaline Soil: pH > 7 can be improved with sulfur or organic matter.
Simple home kits or lab tests give accurate pH readings.
3. Evaluate Soil Fertility
Nutrient levels matter for plant health.
-
Essential nutrients: Nitrogen (N), Phosphorus (P), Potassium (K).
-
Test kits or soil labs help identify deficiencies.
-
Fertile soil reduces dependency on chemical fertilizers.
Clearing the Garden Area
Start soil preparation by clearing the area.
-
Remove rocks, weeds, and debris that hinder root growth.
-
Remove old plant material to prevent disease carryover.
-
Ensure the site receives adequate sunlight and has good drainage.
A clean garden bed ensures plants can establish quickly and grow stronger.
Loosening and Turning Soil
Compacted soil restricts root growth and water absorption.
1. Digging or Tilling
Loosen soil 8–12 inches deep.
-
Use a spade for small areas or a rototiller for larger spaces.
-
Break large clumps for uniform texture.
-
Avoid over-tilling, which can damage soil structure.
2. Aeration
Aerating soil improves water infiltration and root growth.
-
Garden forks or aerators create channels for air and water.
-
Aerated soil encourages beneficial microbial activity.
Properly loosened soil ensures roots can access nutrients efficiently.
Improving Soil Fertility
Healthy soil provides nutrients for strong plants.
1. Adding Organic Matter
Compost, manure, or leaf mold improves fertility.
-
Compost: Provides slow-release nutrients and improves structure.
-
Manure: Adds nitrogen but must be well-rotted to avoid burning plants.
-
Leaf Mold: Improves moisture retention and microbial activity.
Apply 2–4 inches of organic matter and mix thoroughly with existing soil.
2. Using Natural Fertilizers
Balance soil nutrients with natural amendments.
-
Bone meal adds phosphorus.
-
Kelp meal adds trace minerals.
-
Blood meal increases nitrogen for leafy growth.
Natural fertilizers reduce chemical dependency and maintain soil health.
3. Adjusting pH
Correct soil acidity or alkalinity for optimal nutrient absorption.
-
Add lime to acidic soil gradually, retesting pH after a few weeks.
-
Add elemental sulfur to alkaline soil slowly and evenly.
Balancing pH ensures plants access the nutrients they need.
Mulching and Moisture Retention
Soil preparation doesn’t end with fertilization. Protecting the soil is crucial.
-
Apply 2–3 inches of mulch to conserve moisture.
-
Organic mulches (straw, wood chips) improve soil as they decompose.
-
Mulching reduces weeds and prevents erosion.
Moist, protected soil promotes seed germination and root development.
Planning Raised Beds or Containers (Optional)
For areas with poor soil, raised beds or containers are effective solutions.
-
Raised beds improve drainage and allow controlled soil quality.
-
Use a mix of garden soil, compost, and peat moss for containers.
-
Ensure adequate depth for root vegetables and larger plants.
Raised beds give beginners control over soil preparation and improve plant success.
Step-by-Step Guide to Preparing Soil for Planting
Follow these steps for a fully prepared garden bed:
-
Clear weeds, rocks, and debris.
-
Test soil type, pH, and fertility.
-
Loosen soil 8–12 inches with a spade or tiller.
-
Mix in 2–4 inches of compost or organic matter.
-
Apply natural fertilizers as needed based on soil tests.
-
Adjust pH with lime or sulfur if necessary.
-
Smooth soil surface and water lightly.
-
Apply mulch to retain moisture and reduce weeds.
-
Let soil settle for a few days before planting.
Following this sequence ensures your garden soil is nutrient-rich, loose, and ready for healthy plant growth.
Maintaining Healthy Garden Soil
Preparing soil is the first step. Continuous care keeps it productive.
-
Rotate crops annually to prevent nutrient depletion.
-
Add compost regularly to replenish nutrients.
-
Avoid overwatering, which can cause compaction and root rot.
-
Monitor pH and nutrient levels periodically.
Healthy, maintained soil produces better yields with fewer problems.
Common Mistakes to Avoid
Even experienced gardeners make mistakes in soil preparation.
-
Planting without testing soil fertility.
-
Over-tilling, which destroys structure.
-
Ignoring pH balance and nutrient deficiencies.
-
Skipping organic matter or compost applications.
Avoiding these mistakes ensures stronger, more resilient plants.
Tools Needed for Soil Preparation
Having the right tools saves effort and improves results.
-
Spade or Shovel: For digging and turning soil.
-
Garden Fork: For loosening compacted soil.
-
Trowel: For small planting areas.
-
Rake: For leveling soil and removing debris.
-
Wheelbarrow: For transporting compost, soil, or mulch.
Using these tools properly makes soil preparation faster and more effective.
Conclusion
Preparing soil is the foundation of a thriving home garden. Understanding soil type, testing pH, and improving fertility with organic matter ensures plants grow strong and healthy. Proper clearing, loosening, and nutrient management are essential for root development and overall plant health. Mulching, raised beds, and continuous maintenance further enhance soil quality.
By following these detailed steps, any gardener can create nutrient-rich, well-drained, and fertile soil for their home garden. Investing time in proper soil preparation reduces plant stress, improves yields, and makes gardening a rewarding experience. Start with your soil today, and your garden will thrive for years to come.